You don’t always want to have to design and fabricate a tool or mechanism to solve a problem. When you do, it’s a journey like no other.
The Case for 3D Printers Link to heading
Instead of shopping for expensive parts or chasing off-the-shelf products that don’t quite meet your needs you can elect to create and manufacture a functional model all within the span of a day, if not hours. However, the knowledge and wisdom that is required to generate a great outcome is hard-won and never immediate.
There are two key enablers, the 3D Printer and CAD Software, that allow people such as myself with no formal engineering training to create suitable and functional tools and objects to solve problems. I first started with a 3D Printer, a modest Creality Ender V2 which at the time had more problems than solutions. Not being familiar with CAD meant I was limited to the creations of others, but I could learn how to use and dial in a very unstable printer to get adequate results.
Throughout my time using 3D Printers, the community support has always been outstanding, even for relatively small brands such as Anycubic. Crowdsourcing printer settings and various part designs alongside third-party printer components has meant that the hobby has been able to achieve widespread adoption and break through into the mainstream for enthusiasts and pro-sumers. It’s a tinkerer’s dream.
Starting with CAD and the First Hurdle Link to heading
The advent of usable and affordable 3D printers have subsequently meant that demand for quality and accessible design software has increased significantly. Although many gravitate towards Tinkercad, AutoCAD or Solidworks for various reasons, many valid, I decided to learn and use FreeCAD. I didn’t exactly have many options on Linux, but I did have previous experience (small as it was) with Solidworks and understood the basic concepts of sketching, constraints and extrusions. In my mind FreeCAD was the open Solidworks analogue and I saw FreeCAD as the friendlier, cost-effective version.
I now had the printer, and the software. I just needed to bring the two together in pursuit of a goal. I had always wanted to own a server with multiple nodes such as what SuperMicro offers used for clustering and high availability. Aside from the purchase of superfluous equipment, the next best thing would be to design it myself.
Armed with some confidence as I began, I quickly found that it would take time to develop my framework and approach for designing models. My first attempt at design was a modular chassis for some Orange Pis I had bought to learn Kubernetes clustering. The design in FreeCAD took longer than I thought and although the finished model didn’t look right, I didn’t yet have the understanding and ability to make a more complex model. The road to mastery (or competency) is a long one, and so I deemed it fit enough for purpose and hit print.
Almost immediately I discovered issues in my design. The mounting solution of the Pis were too large and didn’t fit properly. It was a rough start. As it turns out, even if the tolerances look good in CAD, the result may be more different than you expect and the fabrication process has constraints that you ought to account for. In this case the Ender V2 did not have the capacity to print accurately enough nor could it print at the size I was asking of it.
I went through several iterations modifying the size of parts until I had what I felt was a good enough fit to assemble it all. The fan was mounted onto a removable shield with some nuts and bolts and the boards could be installed and removed from the chassis. The ports were all accessible from the rear and ready to go.
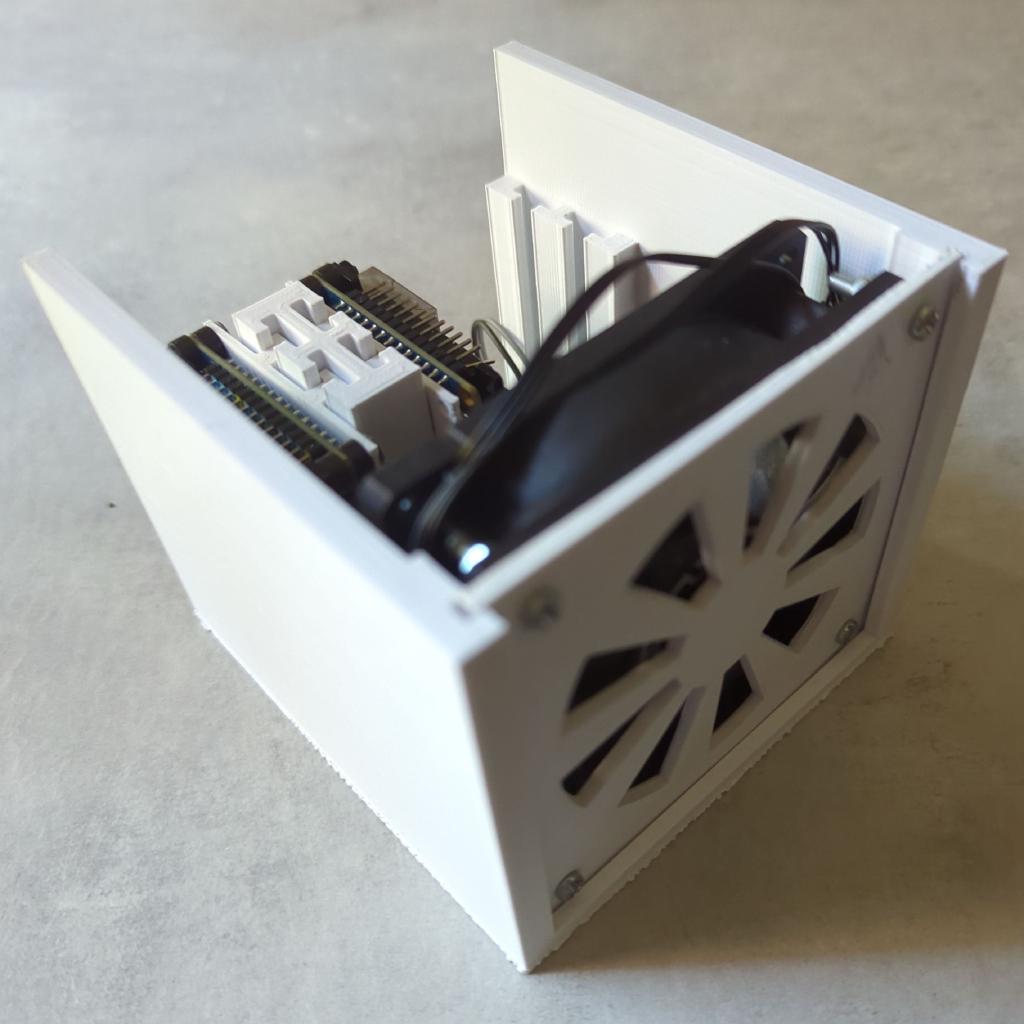
And, simple as it was, I was overjoyed that I could hold something that I had designed and made. Although the learning process was fraught with difficulty, patience had won in the end and I was ready and keen to develop my skills on different models and designs.
The Results of Practice Link to heading
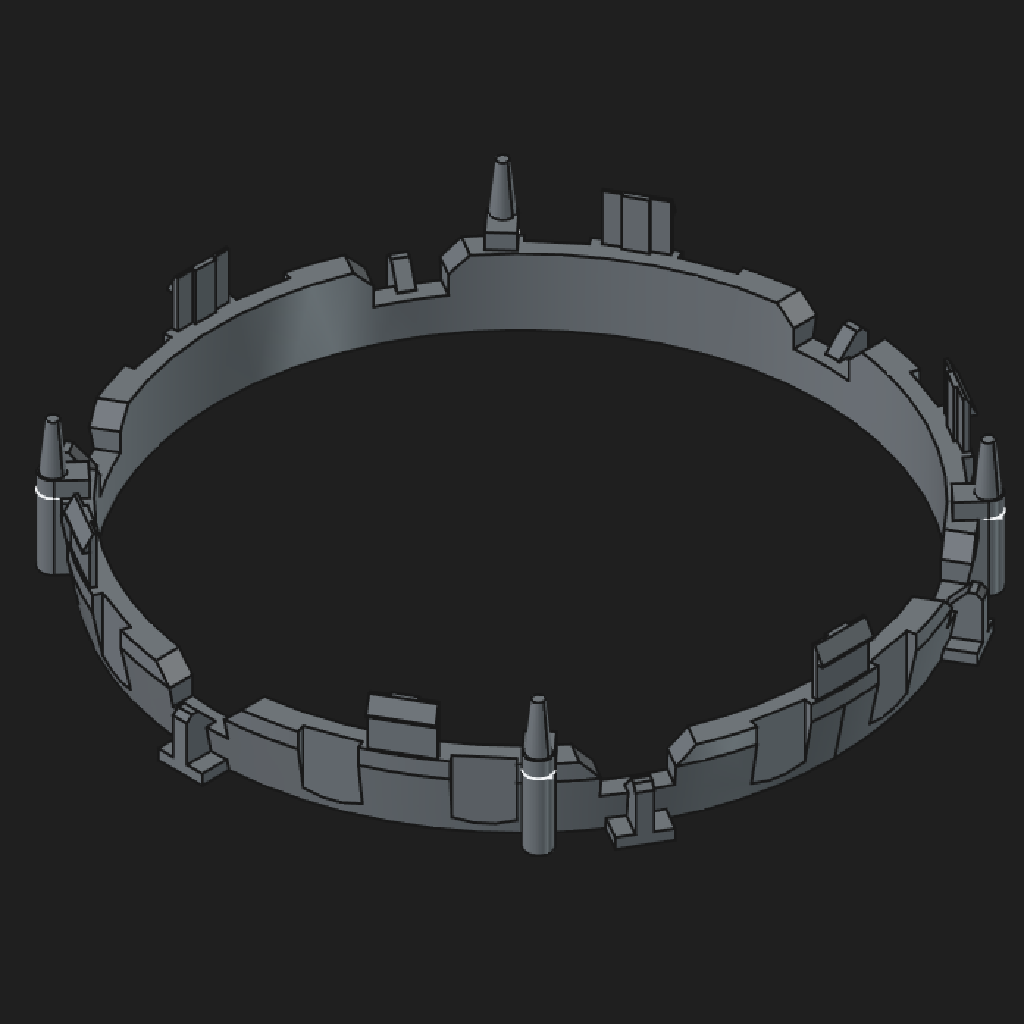
Over time, I came across more items that needed simple tools or parts that I could fabricate. The pinnacle of my endeavours so far has been replacing a clip that had failed in my car which had held the gearstick boot and two trim pieces together. It took various days of tinkering and fine-tuning, but I’ve come to expect that your first couple of designs will never be perfect.
Now, I feel as if I am sufficient in CAD to do reverse engineering on simple objects and develop usable models in a quick enough timeframe that they are relevant to my use cases. I’ve found that my car has been an excellent proving ground for practical, meaningful and universal designs. It’s quirks and features have given me a list of items to tackle one by one to keep it in a better state than before. When you’re holding and using a 3D Printer as a hammer and have some CAD skills (and sprinkle in a little bit of Dunning-Kruger) everything seems like a nail.